Last updated November 21, 2026
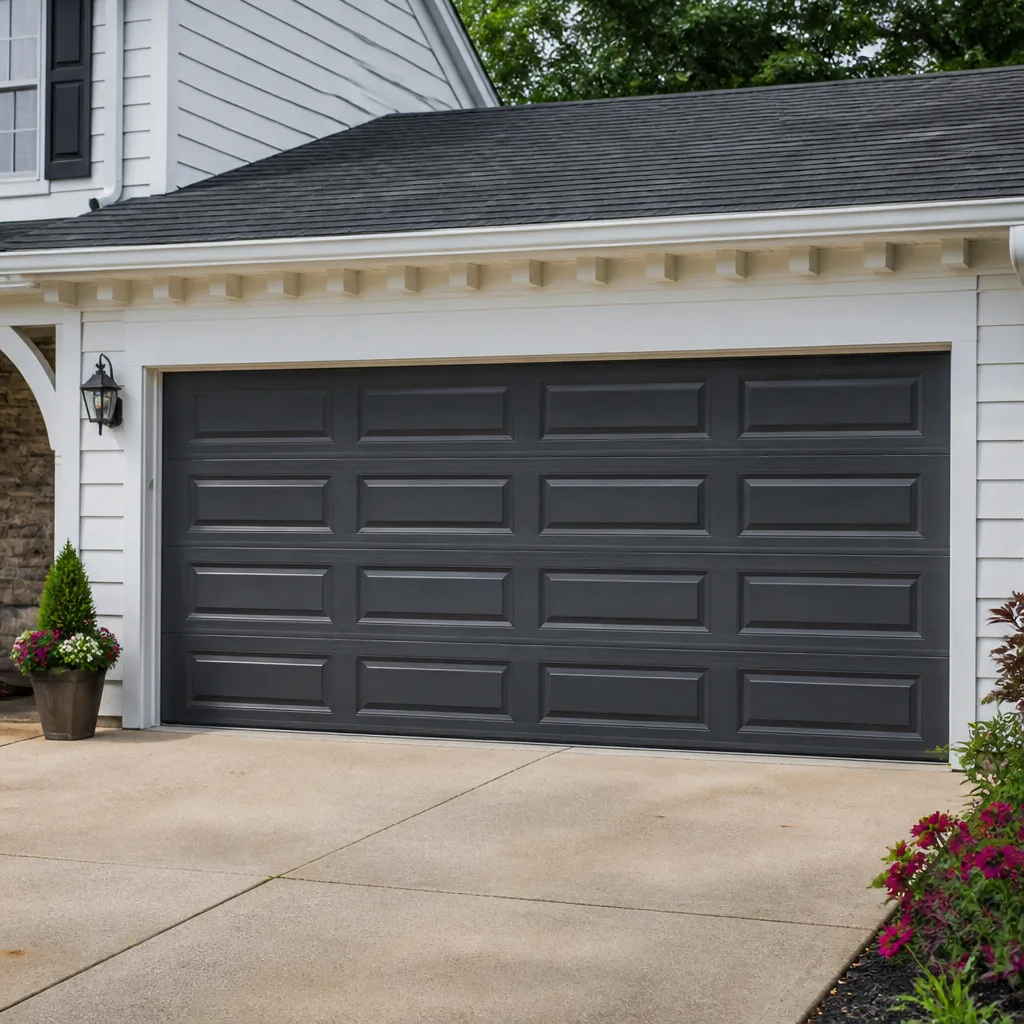 Raised-panel steel
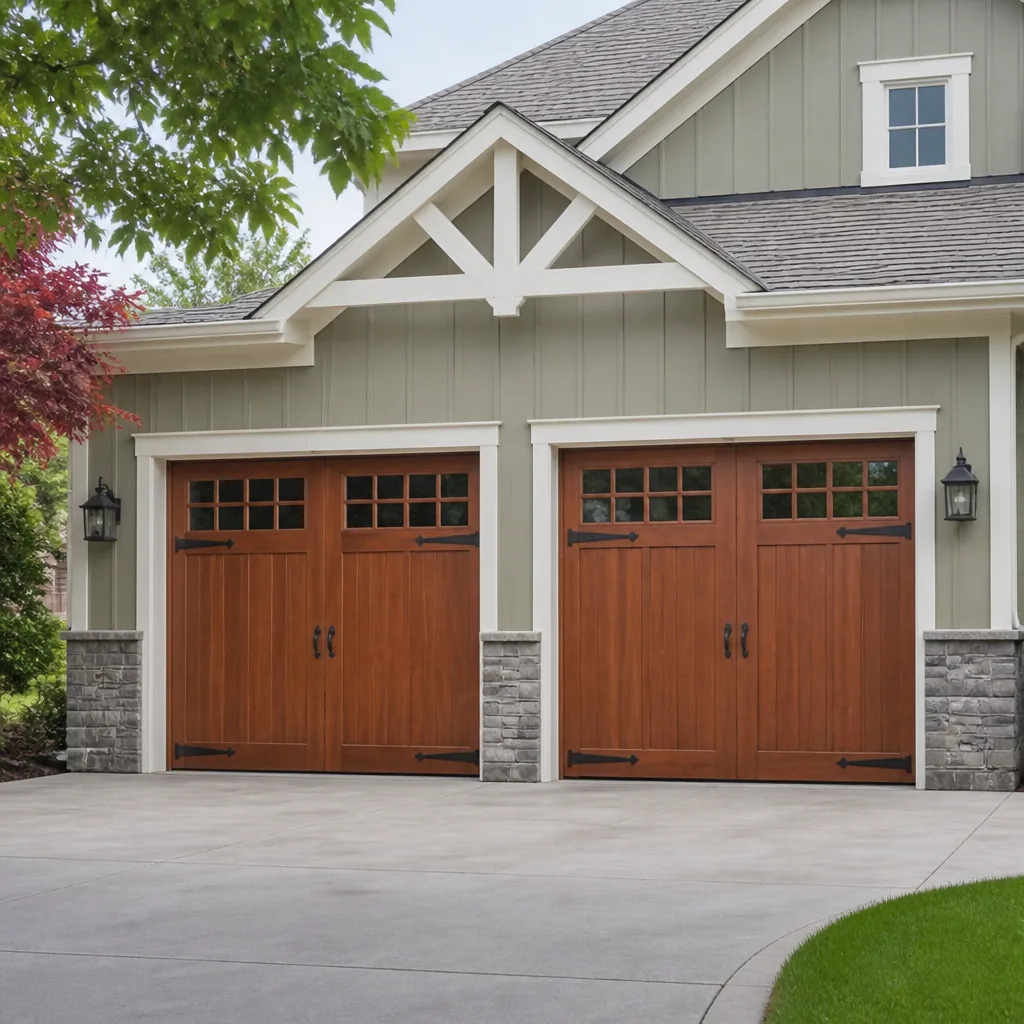 Carriage house
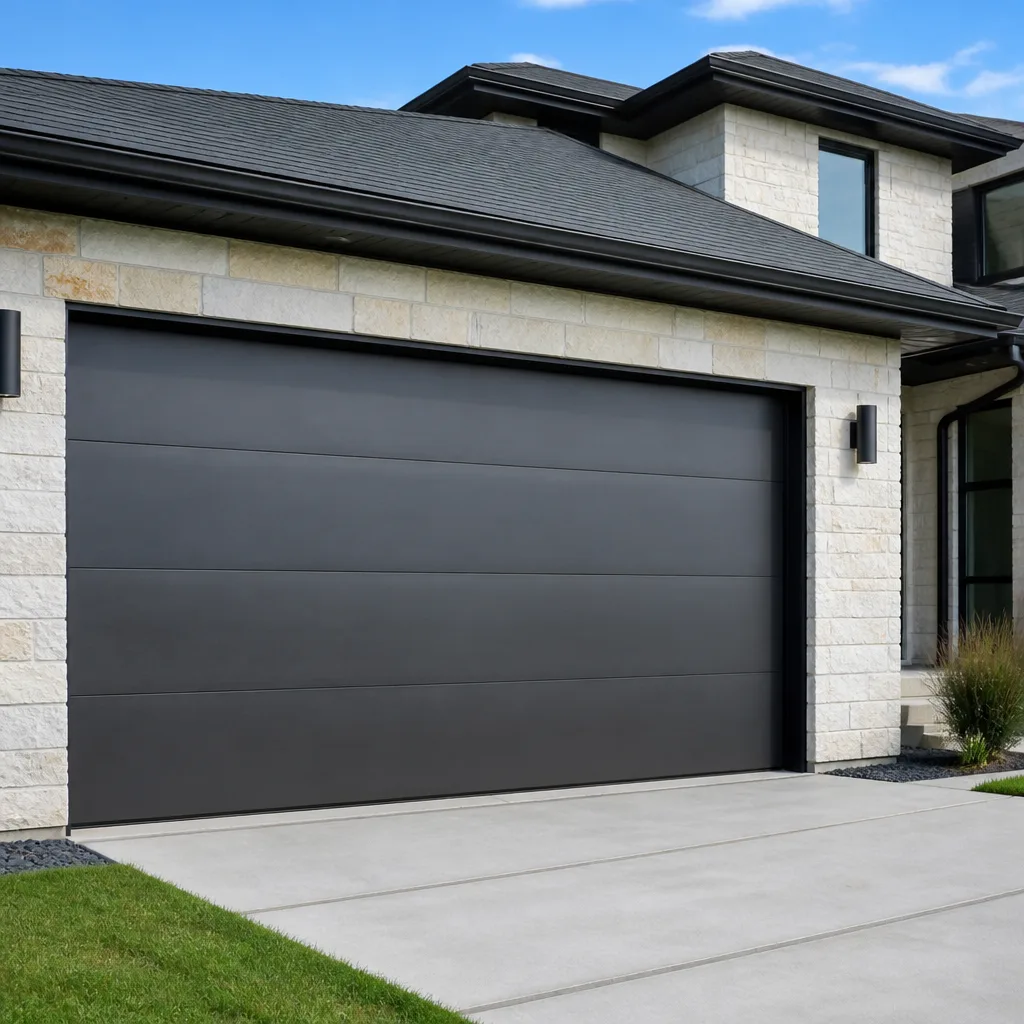 Modern flush
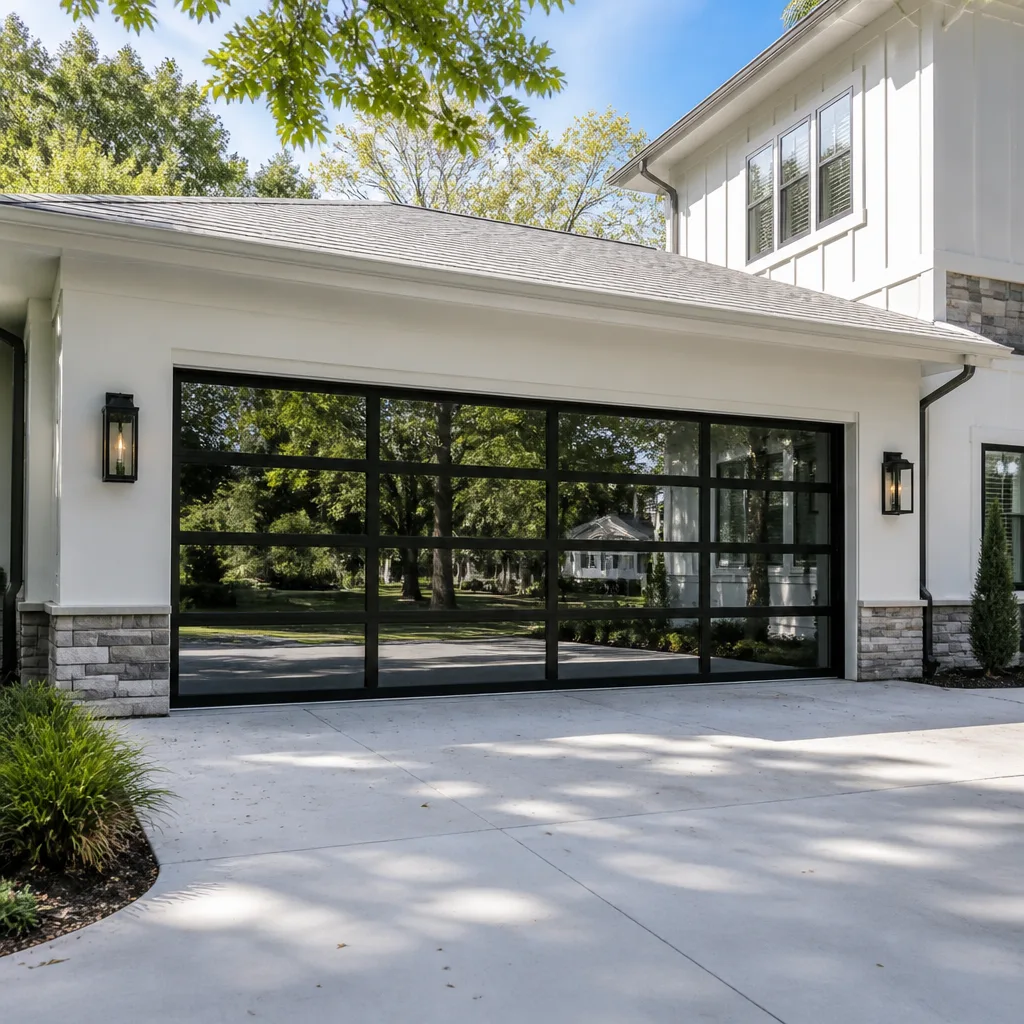 Full-view glass
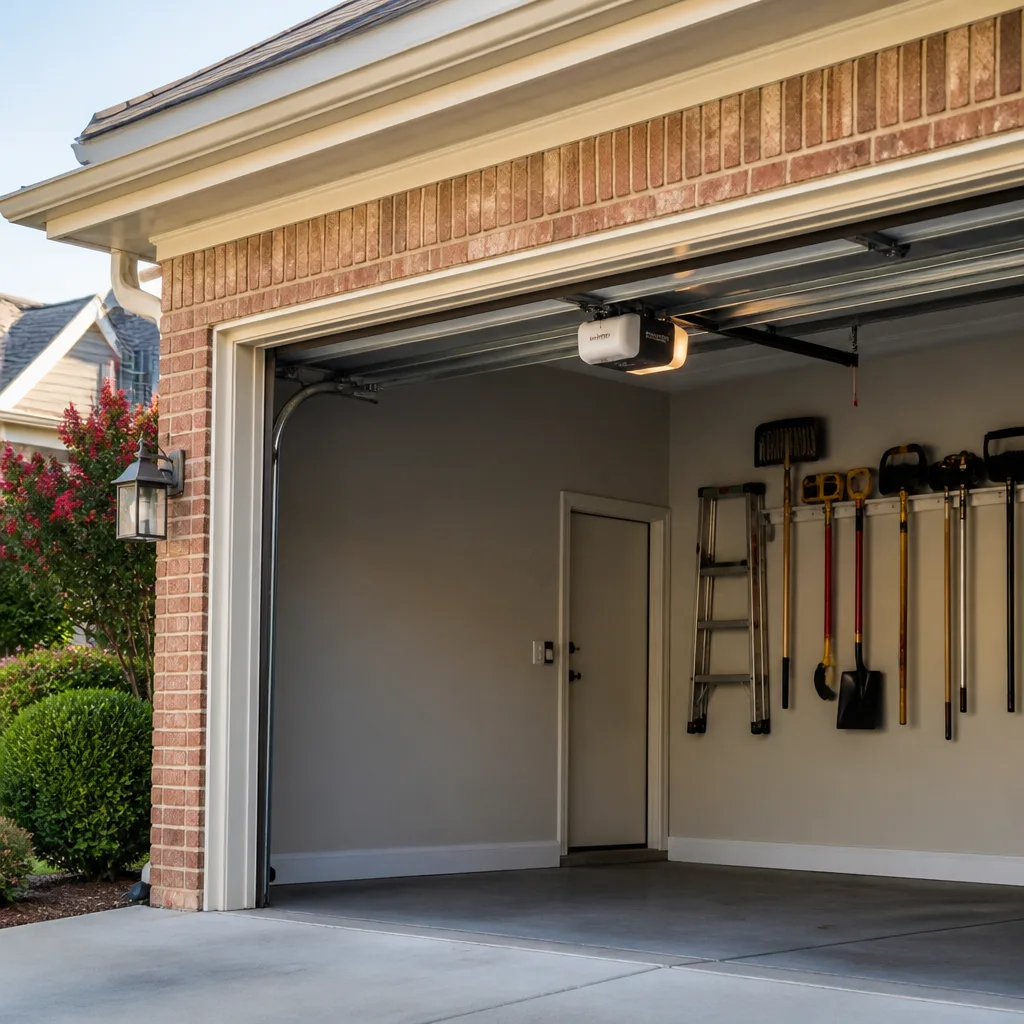 LiftMaster openers
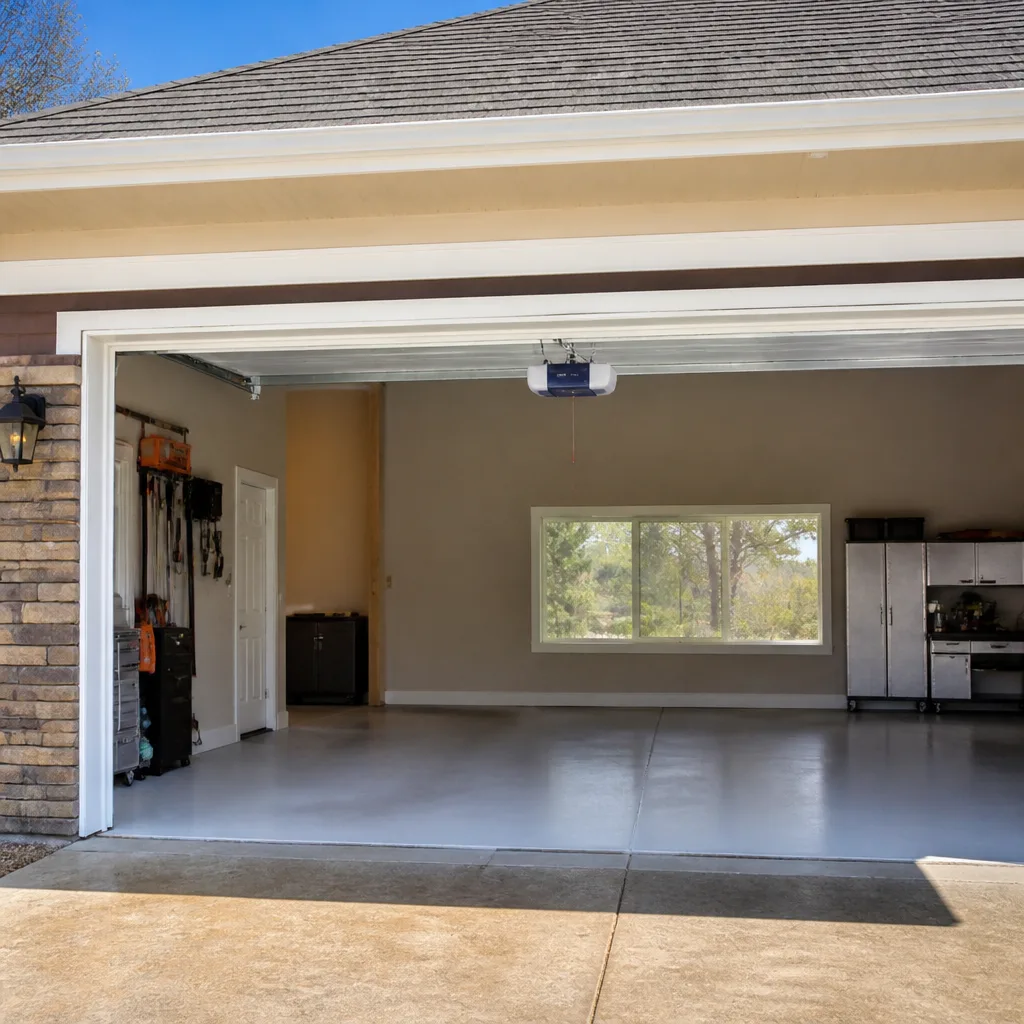 Chamberlain openers
Full 25-point door and opener safety check with every visit - springs, cables, rollers, tracks, and your LiftMaster or Chamberlain opener included
You get a price before we start. It does not change when the pro arrives.
Get your free estimateDIY vs Professional Garage Door: The Inwood Homeowner’s Decision Guide
A torsion spring stores roughly 100 foot-pounds of torque at rest. That’s the number worth carrying into this whole conversation, because it reframes the DIY question completely. The debate isn’t really about whether you’re handy enough. Plenty of Inwood homeowners can swap a weather seal or reset a sensor in ten minutes flat. The real divide is physics: some jobs give back the energy you put into them slowly and predictably, while others keep that stored force coiled up until something slips. This guide sorts every common garage door task into one of those two columns, explains the mechanics plainly, and shows you where your own labor genuinely saves money and where it doesn’t. You’ll also learn how to be a useful set of hands when a technician is working, because that shortens the visit and trims the bill.
Quick Answer
Minor maintenance and cosmetic fixes – lubrication, weatherstripping, sensor alignment, small panel dents – are safe and sensible DIY jobs for a careful homeowner. Anything involving torsion or extension springs, lift cables, the bottom bracket, or a full opener installation belongs with a trained professional. In Inwood, the tasks that cause the most injuries are the ones where a high-tension part releases without warning, and those are exactly the jobs we handle directly as a named service.
Styles & brands we work with
- Raised-panel steel
- Carriage house
- Modern flush
- Full-view glass
- LiftMaster openers
- Chamberlain openers
Table of Contents
- The Task Matrix: What’s Safe to DIY and What Isn’t
- The Physics of Springs: Why the Spring Column Has a Hard Stop
- The Genuinely Safe DIY Jobs (And How They’re Done Right)
- DIY Opener Installation: The Real Skill Threshold
- Cost Comparison: Tools, Time, and the Price of a DIY Error
- How to Be a Useful Assistant When a Technician Arrives
- What Garage Doors Face in Inwood
- Common Mistakes to Avoid
The Task Matrix: What’s Safe to DIY and What Isn’t
The useful way to think about garage door work is a three-column split, not a two-column one. Some tasks are fully within reach of an average homeowner with basic tools. Some are borderline: doable if you’re genuinely confident and careful, but easy to make worse. And some carry a real risk of serious injury and shouldn’t be attempted by anyone without trade training, no matter how many videos you’ve watched. Here’s how that breaks down for the door systems most Inwood homes have.
Safe for a careful homeowner:
- Lubricating hinges, rollers, tracks, and the torsion or extension spring coils with a proper garage door lubricant
- Replacing bottom and side weatherstripping and the threshold seal
- Aligning or cleaning photo-eye safety sensors
- Tightening loose hinge and track bolts with a socket set
- Straightening small dents or touching up paint on a steel door
- Cleaning the tracks and clearing debris
Borderline – proceed only with real confidence:
- Adjusting the opener’s travel limits and force settings via the control panel
- Replacing a wall-mounted push button or a remote battery
- Replacing a single roller, provided the door is fully down and no tension is stored in the springs
- Replacing a photo-eye unit itself (wiring, not just alignment)
Non-negotiable professional jobs:
- Torsion spring replacement, adjustment, or winding
- Extension spring replacement
- Lift cable replacement
- Bottom bracket work (the bracket that holds the cable is under tension)
- Adding a new opener or replacing an existing one that requires new wiring or ceiling mounting
- Replacing a bent track or a damaged bottom section on a door that may be out of balance
- Converting an extension-spring door to torsion
That second and third column is where our Garage Door Repair Inwood work concentrates, because the mechanical risk is concentrated there too. A homeowner can absolutely handle everything in the first column and never touch the risky jobs.
The Physics of Springs: Why the Spring Column Has a Hard Stop
A garage door spring isn’t a simple spring you can compress with your hands. It’s a stored-energy device calibrated to counterbalance the weight of a door that might be 150 to 300 pounds. When you release your garage door to close, you’re not lifting that weight by brute force – the spring is doing most of the work, and the opener motor just guides it. That’s why a door feels almost weightless when the spring is properly sized and almost impossible to move when it’s broken.
How a torsion spring stores force. A torsion spring is a steel coil wound tightly around a horizontal bar above the door. In a properly adjusted door, that bar – called the torsion shaft – is holding the spring under hundreds of turns worth of tension. When you manually operate the door, the spring winds and unwinds alongside it. That stored force is around 100 foot-pounds on a typical single-car door and considerably more on a double-car door. A foot-pound is the energy to lift one pound one foot. Stack 100 of them up and you have a device that, if the winding hardware or cables fail, can release that energy in a fraction of a second.
Extension springs are the older alternative. They run horizontally alongside the tracks and stretch as the door closes. Physically they look less threatening – long, thin, familiar-looking springs. That’s the trap. An extension spring under load can snap with enough force to throw hardware across the garage, and unlike torsion springs, older extension springs often lack a safety containment cable. If a homeowner sees bare extension springs stretching along the top of the tracks, that’s a reason to schedule an inspection, not to fiddle with them.
The hidden danger: the bottom bracket. The spot where the lift cable attaches to the bottom corner of the door – the bottom bracket – is also under constant spring tension. Many people assume the spring is the only loaded part; it isn’t. Loosening the wrong bolt on the bottom bracket can release the cable under load. Both springs and bottom brackets are the two places where trade technicians approach with specific precautions, and both are the reason we treat garage door repair as a discipline rather than a general handyman job. If you ever feel a spring or bracket is loose, stop and call. There’s no safe way to “feel it out.”
The Genuinely Safe DIY Jobs (And How They’re Done Right)
The safe jobs are worth doing properly because they extend the life of the whole system and cost very little. Here’s a short walkthrough of the four that matter most, along with the ways people get them wrong.
1. Lubrication. Garage door tracks don’t need oil; they need cleaning and a silicone-based spray. The springs, hinges, and roller bearings benefit from a proper garage door lubricant applied roughly twice a year. Skip the all-purpose household spray and the spray-on grease; both attract grit. Inwood gets enough seasonal temperature swing that metal contract and expand repeatedly, and a dry hinge is the first thing to complain.
2. Weatherstripping. The rubber seal along the bottom of the door and the strips along the sides are two separate replacement jobs, both inexpensive. The bottom seal slides into an aluminum retainer at the base of the door – you cut a new piece to length, feed it in, and trim. Side seals nail or screw into the jamb. If the door touches the floor unevenly after replacement, the bottom of the door itself or the floor’s slope may need a look, not the seal.
3. Sensor alignment. If the door reverses before it hits the floor or won’t close at all, check the two photo-eye sensors first. Each has a small LED. One should glow steady, the other should flicker or glow when the beam is broken. If one LED is dark, the alignment is off or the lens is dirty. Wipe both lenses with a damp cloth, then loosen the wingnut and angle each sensor until the LEDs are steady. Nine times out of ten that’s the fix.
4. Small panel dents. On a steel door, shallow dents can sometimes be eased out with a suction cup or a small puller from the inside, and touch-up paint prevents rust. Never drill into a panel to pull a dent; you’ll introduce a rust point and a weak spot.
5. Balance test. A door that’s properly balanced should stay put at roughly waist height when you disconnect the opener and lift it manually. If it slams down or doesn’t stay, the springs need professional attention – that’s a sign of imbalance, not something to fix with lubrication.
These are all jobs an average homeowner can do without special equipment. They’re also the tasks we’re happy to walk through over the phone if you’re not sure which one you’re facing.
DIY Opener Installation: The Real Skill Threshold
Opener installation is the task people most often overestimate their ability to handle. The honest skill threshold looks like this: you need to be comfortable on a ladder at ceiling height, comfortable working above your head for a couple of hours, comfortable reading a wiring diagram, and reasonably confident with a drill and a stud finder. If that describes you, you’re in the minority but you exist. If you’re shaky on a ladder or unclear about household wiring, stop there.
Tools you’ll need to do it properly:
- A stepladder tall enough to reach the ceiling safely
- A drill and a set of bits for the door and header
- A socket set for the chain and rail bolts
- A stud finder
- A level
- A tape measure
- Wire strippers and a low-voltage tester
Where it goes wrong, most often:
- The header bracket is misaligned. If it’s not perfectly centered and level, the door binds and the rail torques.
- The rail isn’t straight. A rail that sags or runs slightly off-center wears the trolley and chain prematurely.
- The door’s travel limits are wrong. A door that crosses past the floor or stops short of the frame stresses the opener and eventually the springs.
- The safety sensors are out of line. The opener won’t run, or it reverses and cycles.
- The opener is under-sized. A too-small motor on a heavy double door burns itself out. The horsepower rating printed on the box is a guide, not a guarantee, and matching it to your actual door weight requires the door’s own specifications.
We regularly handle both garage door opener repair and new opener installation on the two systems that dominate the smart-home space in Inwood homes – LiftMaster and Chamberlain – as well as Genie and the other brands on our service list. Those app-connected, myQ-compatible openers have a slightly different setup process than legacy models, and a small error in the pairing sequence can lock out the app until someone resets it. If you’re already on LiftMaster or Chamberlain and you’re considering a DIY install on a replacement box, we’d talk you through the differences before you commit.
If you do call a professional for the install, that opens up better options: a door and opener that are properly matched, correct travel limits, correct force settings, and correct safety reversal on the first try.
Cost Comparison: Tools, Time, and the Price of a DIY Error
The dollar comparison most homeowners run in their heads is “hardware cost” versus “professional labor.” That’s not the whole picture. The real comparison includes tools you may not own, hours of your time, and the possibility that a DIY attempt on a high-tension component makes the eventual professional repair more involved than it would have been.
Here’s how the math breaks down for the main categories of work, with the typical local estimate ranges we quote:
- Lubrication and weatherstripping: hardware $20-$60; time 30-60 minutes; professional labor rarely worth spending for these alone
- Photo-eye sensor alignment: free if it’s just alignment; parts are inexpensive if a sensor needs replacement
- Single panel dent repair or cosmetic touch-up: $10-$30 in supplies; time under an hour
- Opener replacement (same type, existing wiring and ceiling mount): hardware $150-$400 depending on the unit; typical professional installation adds $150-$350 labor, and includes setting limits, force, and sensor alignment
- New opener in a garage without one: hardware plus a substantially larger labor figure because new wiring and ceiling mounting are involved
- Torsion spring replacement: one spring typically $180-$340 installed; a matched pair, which is what most doors need, runs about twice that because both springs are replaced together
- Extension spring replacement: usually quoted per spring, with the same doubling logic for a pair
- Lift cable replacement: typically one cable per side, quoted as a pair in most cases
- Emergency spring failure: quoted with the same parts plus any trip and urgency additions, agreed before work starts
The number that never appears in a DIY budget is the cost of a mistake. A torsion spring that lets go during winding can break a wrist or worse, and a badly misjudged spring adjustment can leave the door running rough and wear out the opener’s gears prematurely. Those aren’t scare figures; they’re the reason the trade treats torsion springs with the same caution an electrician treats a live panel. The comparison that matters is between the typical professional estimate and the potential medical bill plus the cost of an oversized repair after a DIY failure. That math rarely favors DIY on springs.
Our pricing is quoted and agreed before any work starts, and the written estimate sets the final price. If you’d like an exact quote for your door, garage door installation estimates are free too. Call (877) 584-3370 for an exact figure.
How to Be a Useful Assistant When a Technician Arrives
If you’ve decided to hire, there’s a quiet way to lower your bill and shorten the visit: be a prepared homeowner. A technician who arrives to a car-moved, well-lit, tidy garage can work faster, and faster visits cost less. Here’s the short list of things in your control.
- Park the car on the street or in the driveway before we arrive. Give the technician a clear work zone under the door. This alone cuts a measurable chunk off most spring and track repairs.
- Clear the area around the tracks and the opener ceiling mount. Boxes, shelving, bikes, and holiday decorations stacked against the tracks slow the job.
- Point us to the opener manual if you have it. Model number and install details save diagnostic time – especially on the app-connected LiftMaster and Chamberlain units where the pairing state matters.
- Test the door yourself once before we start. Note which direction it fails, whether the opener clicks without moving, and whether the safety sensors reverse the door. These are useful signals.
- Have your door’s spec sheet if you have it. Weight and spring type are printed on the door’s sticker; a photo of that sticker sent ahead shortens the appointment.
- Tell us about any past repairs. If someone else replaced the springs before, the size may have drifted from the door’s original spec. That matters during replacement.
- Stay nearby. You’ll want to see how the new spring tension behaves and test the door with us present. It’s also a good chance to ask the questions you’d otherwise call about later.
A typical service visit in Inwood takes between 45 minutes and two hours depending on the task. The tasks on this list cost you minutes and save you more.
What Garage Doors Face in Inwood
Inwood’s housing stock is mostly older and semi-attached, and that shapes which garage door problems show up here. A lot of the garages attached to the neighborhood’s older homes are single-car, low-clearance setups, often with a manual or legacy opener still in use. That matters for a simple reason: low-clearance garages leave less room for the opener rail and the door’s own clearance, and retrofitting a taller door or a newer opener into a space like that requires specific measurements rather than a guess.
Aging openers matter too. Original openers from decades ago on many Inwood homes often have worn drive gears and pre-smart-home remotes. Replacing one with a modern LiftMaster or Chamberlain unit is usually a bigger change than the owner expects – the opener itself, the wiring, the safety reversal, and the app setup all need alignment on the same visit. That’s one reason we treat opener replacement as a scheduled job rather than a same-day fix; the measurement happens first, then the install.
Weather adds a layer of its own. The freeze-thaw cycle along the streets north of Dyckman Street pushes on the concrete apron where the door meets the floor, and that can throw off the bottom seal long before the door itself shows wear. Snow accumulation against the garage door is a common cause of a door that stops partway in winter – not a broken spring, just a stuck load. In summer, heat softens the weatherstripping and causes it to seal less tightly, and a door that suddenly doesn’t sit flush is often just a worn seal rather than a structural issue. If you’re unsure which one you’re facing, we’re happy to figure it out.
Inwood is small enough that neighborhood knowledge genuinely matters for how work gets done here – knowing which side of the building gets sun all afternoon, whether a garage is under a neighbor’s terrace, and how tight the turning space is around the door. Those are the details that decide which tools a technician brings. Calling (877) 584-3370 and describing your garage setup ahead of the visit is the fastest way to get a useful estimate.
Common Mistakes to Avoid
- Buying the cheapest identical-looking spring. Springs are matched to door weight, and a slightly wrong wire gauge changes the door’s balance and wears the opener out faster. Have a professional measure the door before ordering spring parts.
- Working on a spring with the door up. The stored energy is highest when a torsion spring is holding the door in the open position, and lowest when the door is fully down. Never work on the spring assembly at all, but understand why the door’s position matters if something fails on its own.
- Lubricating the tracks. Oil on the tracks attracts grit and makes the rollers slip. Clean the tracks and lubricate the moving parts, not the rail surfaces.
- Loosening the bottom bracket to straighten the door. The bottom bracket holds the lift cable under spring tension. This is exactly the kind of “I’ll just loosen this one bolt” task that puts homeowners in the ER.
- Adjusting opener force to compensate for a misbehaving door. If the door won’t close, increasing the opener’s force setting just hides the real problem – usually a binding track or a failing spring. The opener isn’t the cause.
- Ignoring an extension spring without a safety cable. If you see bare extension springs running along the tracks with no containment cable, don’t touch them. Have them cabled or replaced.
- Skipping the balance test after any adjustment. The door should stay at half-height when manually lifted. If it drops or rises on its own after you’ve replaced a hinge or roller, the balance is off and needs a professional look.
See the difference
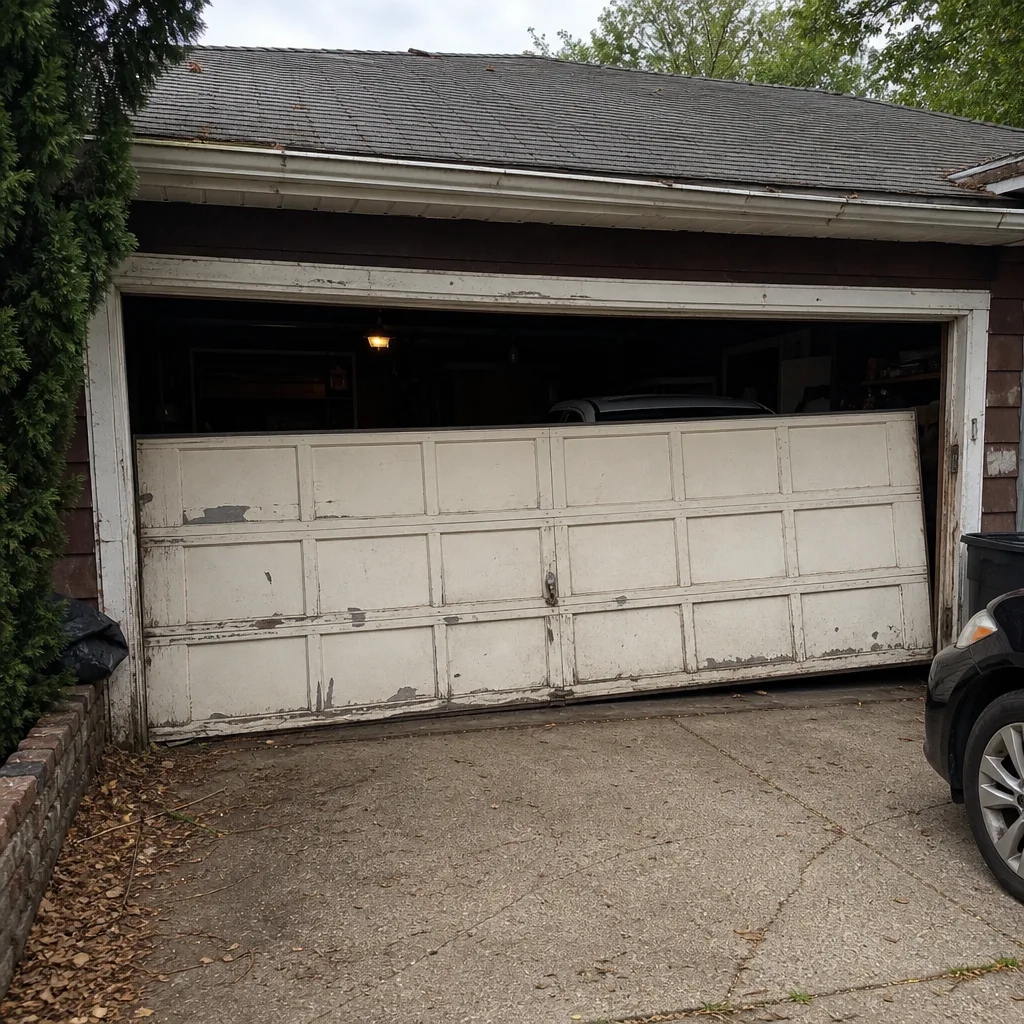 Before
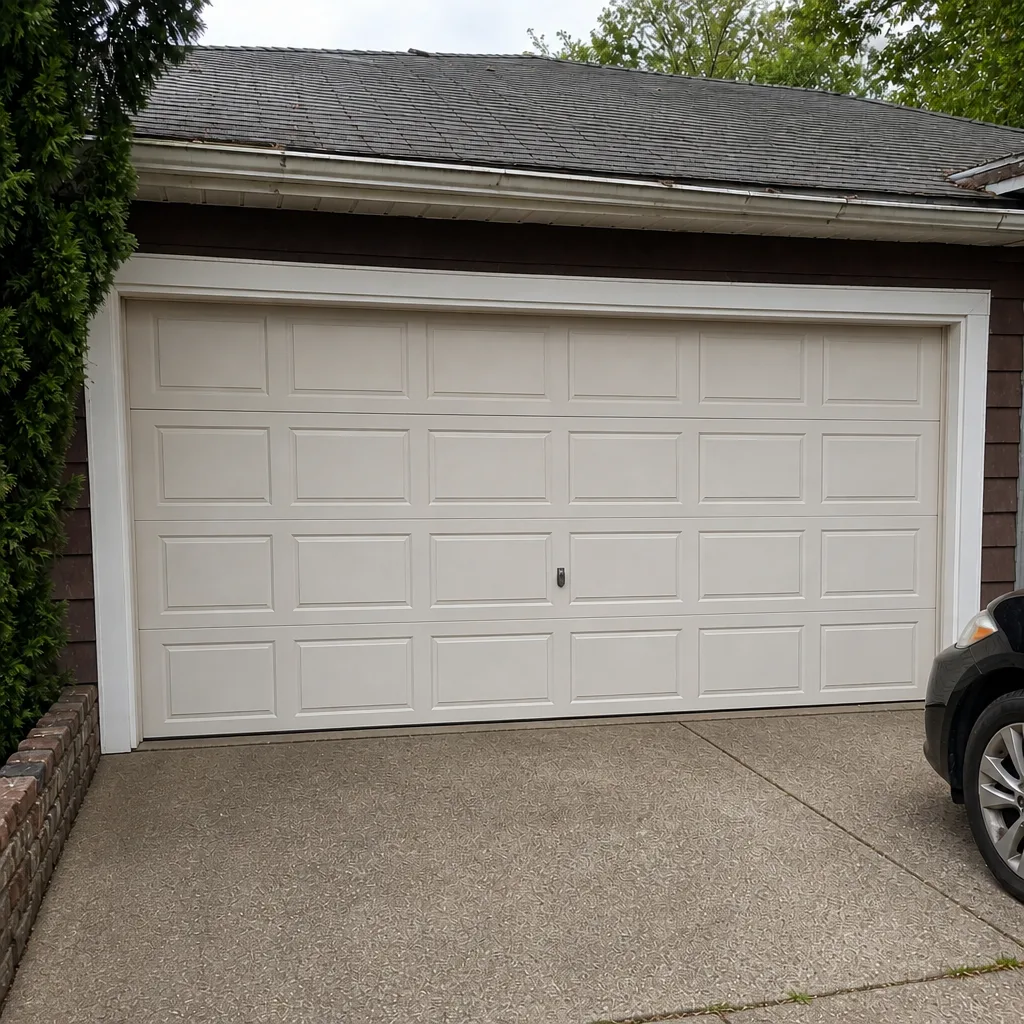 After
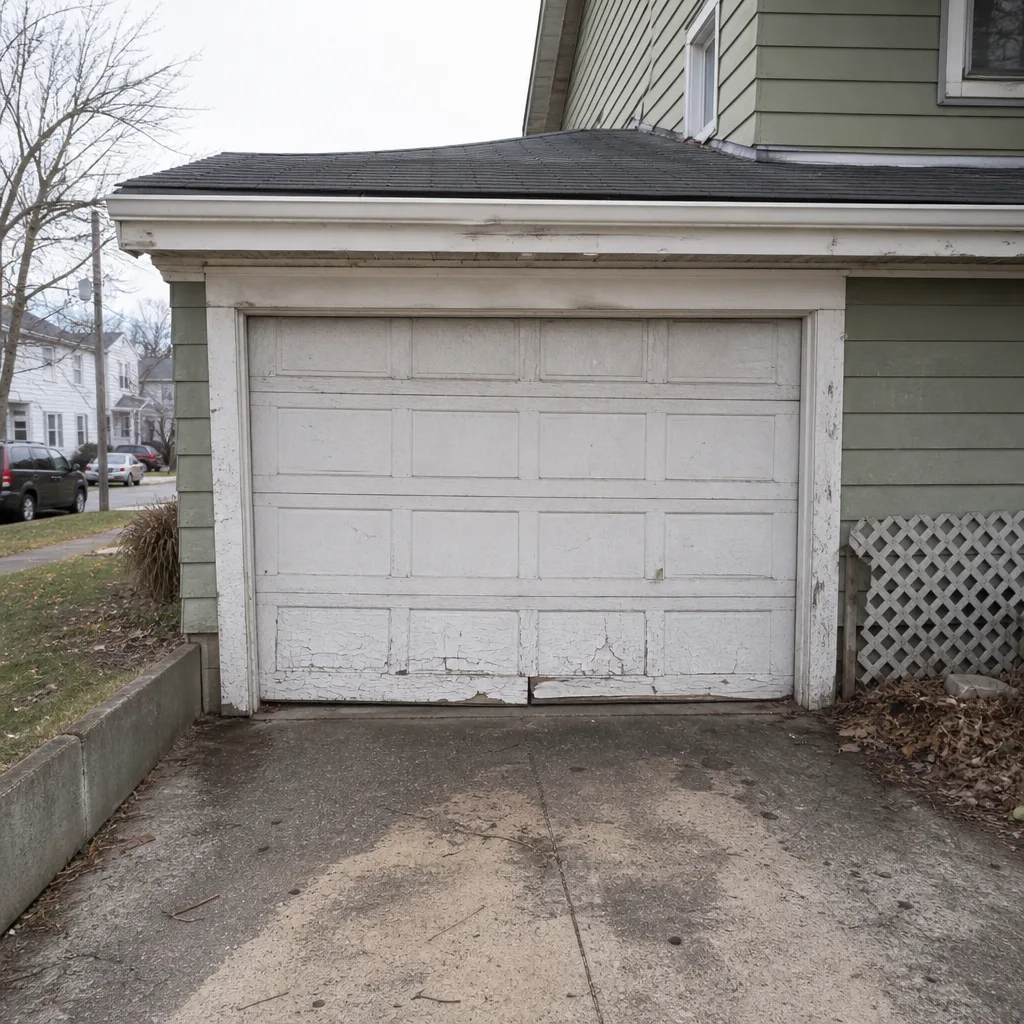 Before
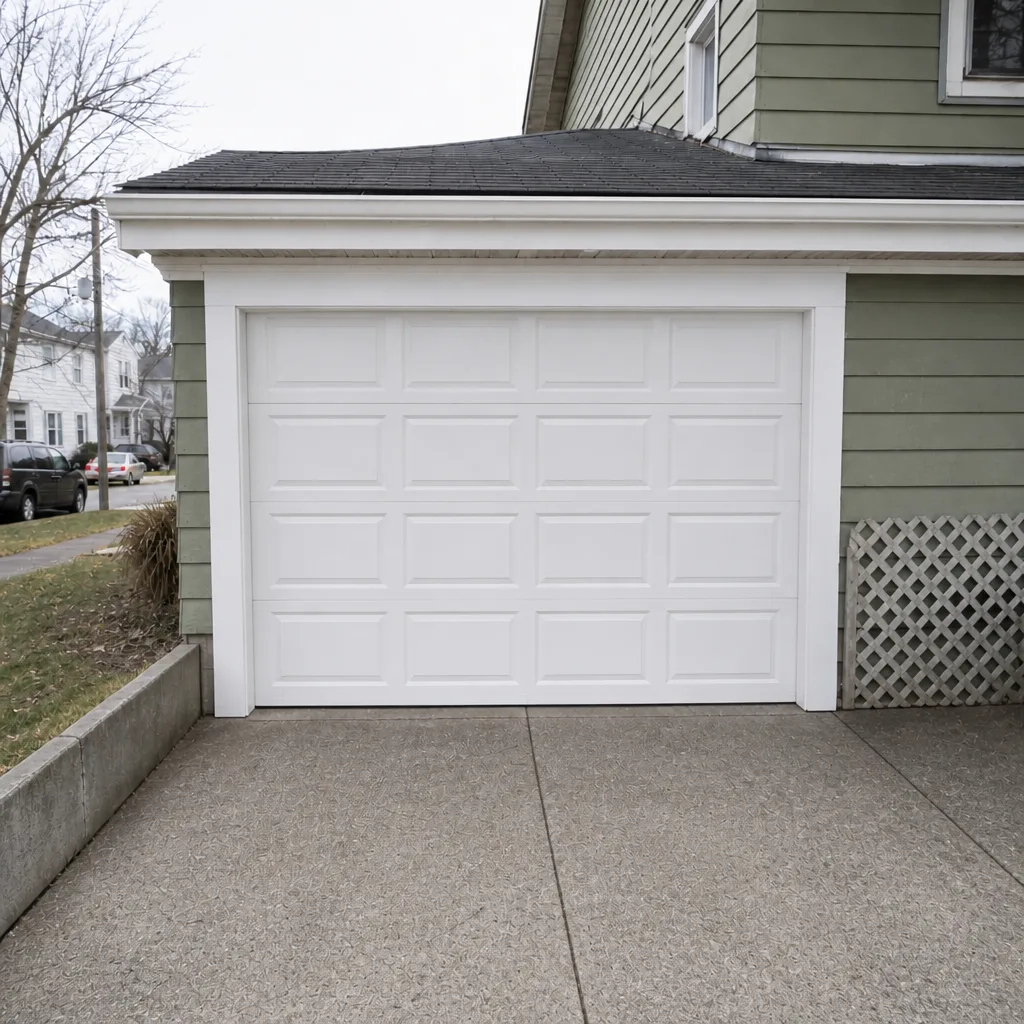 After
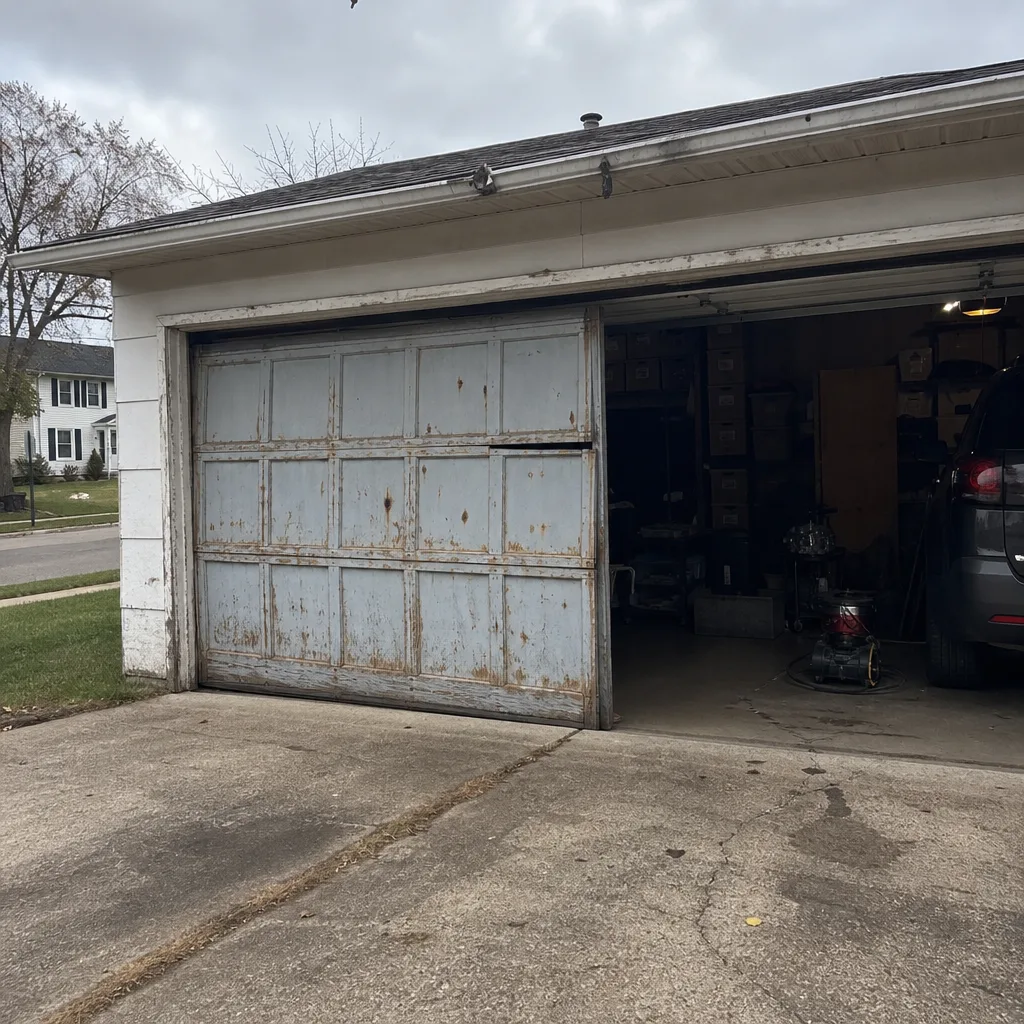 Before
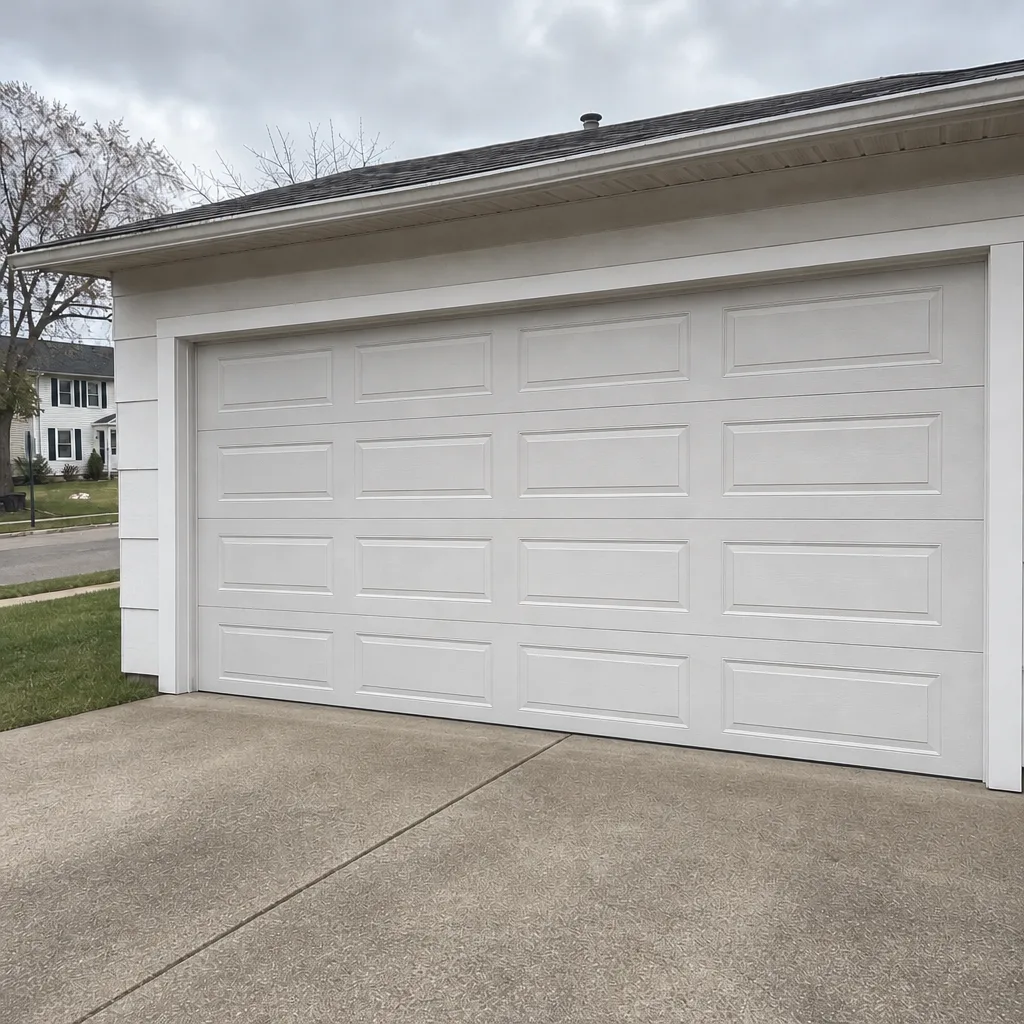 After
When to Call a Professional
Call a professional for anything that involves a spring, a lift cable, a bottom bracket, or a new opener installation. Also call for a door that has become suddenly hard to move, a door that reverses unexpectedly mid-travel, an opener that runs but won’t lift, a cable that has come off its drum, or any door you’ve never serviced that’s older than the original opener. Broken springs and stuck doors are the two most common emergency calls we answer, and we treat emergency service as a core part of what we do rather than an add-on. Our technicians have up to 12 years of experience and work on LiftMaster, Chamberlain, Genie, Clopay, Amarr, Wayne Dalton, Craftsman, and Raynor equipment – if you already own it, we can work on it. Garage Door Repair Inwood offers free estimates in Inwood – call (877) 584-3370.
Frequently Asked Questions
No. Garage door springs for a typical residential door are under extreme tension, and the tools and procedures for safely replacing one require training – there’s no reliable home-workaround. A spring that releases unexpectedly during a DIY attempt can cause serious injury. Spring repair is a named, dedicated service we handle directly, and we’d rather you call us to price it than risk the attempt.
One torsion spring typically runs $180-$340 installed, and a matched pair – which is what most doors need – costs about twice that, because the two springs are replaced together to keep the door balanced. Extension springs are quoted the same way. Call (877) 584-3370 for an exact quote; estimates are free, and our pricing is quoted and agreed before any work starts.
Yes, in most cases. Emergency garage door service is built into our service model, and stuck doors and failed springs are the two most common calls. Call (877) 584-3370 and describe what happened – the door’s position, whether the opener clicks without moving, and whether the door has been dropping unevenly. That helps us bring the right parts.
Comfort above your head on a ladder for two hours, a decent drill and stud finder, ability to read a wiring diagram, and confidence at the ceiling. If any of those is a stretch, that alone puts you over the line. On the smart-home integrated units – LiftMaster and Chamberlain especially – the app setup and pairing sequence adds another place to go wrong. Most homeowners who start an opener install end up calling after the rail or limits don’t behave.
No. We quote and agree the price before any work starts, and the written estimate sets the final price. The only way the figure changes is if the work itself changes, and we’d agree that with you before proceeding. That’s true for a spring repair, an opener install, or a full door replacement.
Yes, and that’s often exactly the right call. Lubrication, weatherstripping, sensor alignment, and small cosmetic fixes are genuinely within reach of a careful homeowner. When you’re ready for the spring or the opener, or if you want an expert eye on the door’s balance, we can take over from there. Call (877) 584-3370 for a straightforward estimate on just the part you need done.
The Bottom Line
The DIY-versus-professional question for a garage door isn’t really about skill level, it’s about physics. Lubrication, weatherstripping, sensor alignment, and small cosmetic fixes are safe and sensible for a careful homeowner in Inwood. Spring replacement, lift cable work, bottom bracket repairs, and full opener installation belong with a trained professional because they involve stored force that releases without warning. Our technicians have up to 12 years of experience across the major brands, and we’ll tell you plainly which column your job belongs in. When in doubt, call – estimates are free, and a written price always comes before any work starts.
Ready to get a firm price on your door? Call (877) 584-3370 for a free estimate – we’ll tell you exactly what the job involves and what it costs before anyone touches a tool.
Written by the team at Garage Door Repair Inwood.